How to Arrange Furniture for Ramp Access in Small Rooms: Space‑Saving, Accessible Layouts and Step‑by‑Step Tips
Introduction
The reader will learn how to create a functional and aesthetically pleasing layout in a compact living space while preserving safe ramp access for wheelchairs, walkers, or scooters. One will discover methods for measuring thresholds, selecting appropriate furniture, and positioning items to minimise obstacles. The guide emphasizes the importance of clear pathways, proper lighting, and the use of specialised tools such as the Height Adjustable Door Ramp. By following the instructions, one can improve independence, reduce the risk of falls, and enhance overall comfort in a small room.
What You Will Need
- Measuring tape or laser distance measurer
- Pencil and masking tape for layout marking
- Level and carpenter’s square
- Furniture with low profiles or modular designs
- Non‑slip floor protectors
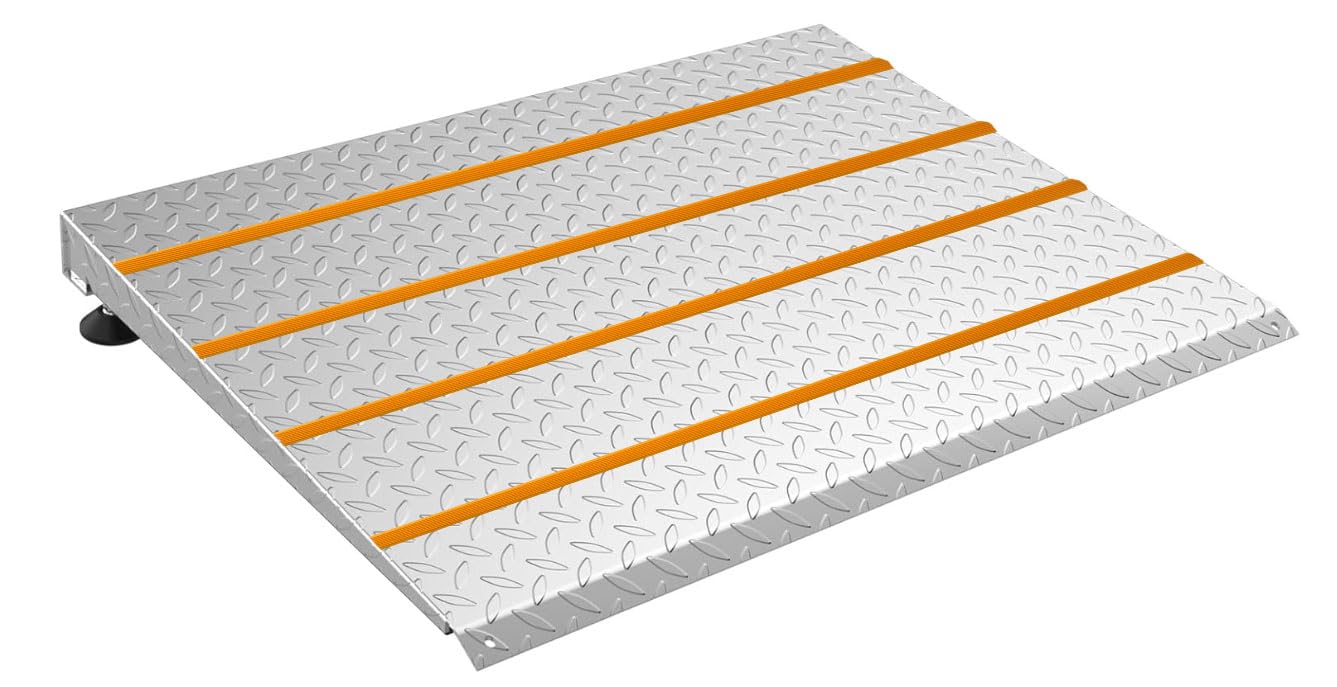
- Height Adjustable Door Ramp – heavy‑duty alloy iron construction, supports up to 800 lb, adjustable for 3"‑6.3" rises
Step 1: Measure the Threshold and Identify the Ramp Path
Begin by measuring the vertical rise of the doorway threshold with a tape measure; record the exact height in inches. Next, measure the horizontal distance available for a ramp to achieve a safe slope, ideally no steeper than 1:12 (one inch of rise per twelve inches of run). Mark the intended ramp path on the floor using masking tape, ensuring the line does not intersect existing furniture. This measurement determines the required length of the Height Adjustable Door Ramp, which offers a length of 27.6 inches and a width of 37.4 inches, sufficient for most interior doorways.
Step 2: Choose Furniture that Complements the Ramp Layout
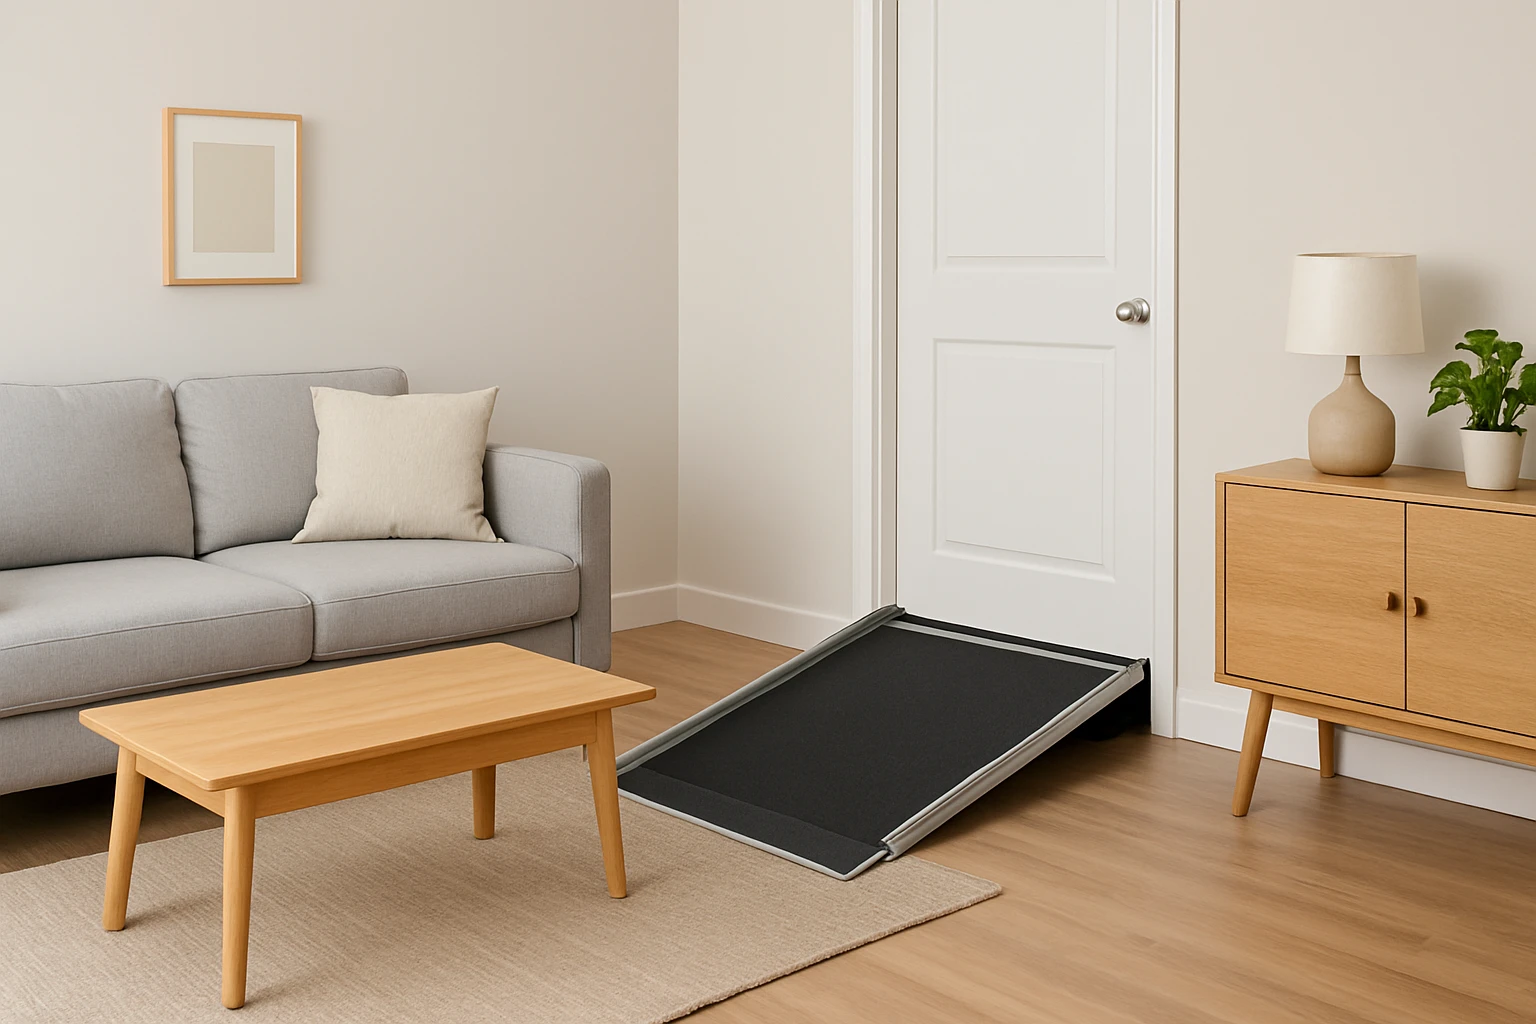
Select pieces that have a low footprint and can be positioned parallel or perpendicular to the ramp without obstructing the pathway. Modular sofas with detachable arms, slim‑profile side tables, and wall‑mounted shelves free up floor space. When possible, choose furniture with rounded edges to reduce the risk of injury if contact occurs. The chosen items should allow at least 36 inches of clear width along the ramp, which matches the recommended clearance for wheelchair maneuverability.
Step 3: Arrange Primary Seating and Storage Units
Place the main seating element opposite the entrance, leaving the ramp corridor untouched. Align the back of the sofa with the wall to create a natural barrier that guides traffic toward the open pathway. Position storage units, such as a low chest of drawers, on the side opposite the ramp, ensuring they do not protrude into the 36‑inch clearance zone. Use a level to verify that the floor remains even; any unevenness can be corrected with shims before the ramp is installed.
Step 4: Install the Height Adjustable Door Ramp
Unpack the ramp and lay it on the marked path. Adjust the two independent legs to match the measured rise; the swivel feet allow precise height control for thresholds ranging from 3" to 6.3". Secure the ramp using the pre‑drilled holes and expansion screws provided; this prevents movement under load. The ramp’s 8° curved front edge eases the transition onto the floor, while the non‑slip surface and included adhesive anti‑slip strips enhance safety. The product’s rating of 4.5 out of 5 stars from 107 reviews indicates reliable performance in real‑world settings.
Step 5: Add Floor Protection and Visual Cues
Apply non‑slip floor protectors along the ramp and at the junction with surrounding flooring to minimise wear. Consider using contrasting tape or a thin runner to create a visual cue that highlights the accessible route. This practice assists individuals with limited vision and reinforces the designated pathway for visitors.
Step 6: Fine‑Tune Furniture Placement for Optimal Flow
Walk the entire route while pushing a wheelchair or scooter to test clearance and turning radius. Adjust any pieces that impede smooth movement, such as moving a side table an additional six inches away from the ramp. Ensure that door handles are reachable from a seated position; if necessary, install lever‑style handles that require less force.
Tips & Pro Tips
- Use furniture with casters that can be locked; this provides flexibility for occasional re‑arrangement while maintaining stability.
- Maintain a clutter‑free zone of at least 48 inches near the entrance to accommodate assistive devices and caregivers.
- Install wall‑mounted lighting at the ramp’s entry point to improve visibility during low‑light conditions.
- Periodically check the ramp’s leg screws for tightness, especially after heavy use.
Troubleshooting
Problem: The ramp feels unstable when weight is applied.
Solution: Verify that both legs are fully extended and that the expansion screws are anchored into solid floor material. Use additional shims if the floor is uneven.
Problem: Furniture still blocks the pathway after initial placement.
Solution: Replace bulky items with wall‑mounted alternatives or consider a fold‑away chair that can be stored when not in use.
Conclusion
The guide has demonstrated how to assess a doorway threshold, select appropriate furniture, and install the Height Adjustable Door Ramp to create a safe, space‑saving layout in a small room. By following the step‑by‑step instructions, one can achieve an accessible environment that promotes independence and comfort. Readers are encouraged to apply these principles to other areas of the home, thereby extending the benefits of thoughtful design.
Products Mentioned in This Guide
Height Adjustable Door Ramp
Rating: 4.5/5.0 (107 reviews)
Features: Adjustable for 3"‑6.3" rises, heavy‑duty alloy iron construction, supports up to 800 lb, non‑slip surface, includes anti‑slip strips.
Frequently Asked Questions
How much clearance should I leave around a ramp in a small room?
Leave at least 36 inches (91 cm) of clear width on each side of the ramp to allow safe wheelchair maneuvering.
What type of furniture is best for rooms with ramp access?
Choose low‑profile, modular or stackable pieces with rounded edges to keep pathways open and reduce tripping hazards.
How can I measure my space to ensure the ramp fits correctly?
Use a measuring tape or laser distance measurer to record the floor‑to‑door height, ramp length, and available width, then compare with the ramp’s specifications.
Do I need special floor protection for ramps?
Yes, place non‑slip floor protectors or rubber mats under the ramp and high‑traffic furniture to prevent slipping and wear.
Can lighting improve safety for ramp users in tight spaces?
Bright, evenly distributed lighting and night‑lights along the ramp pathway help users see obstacles and avoid falls.