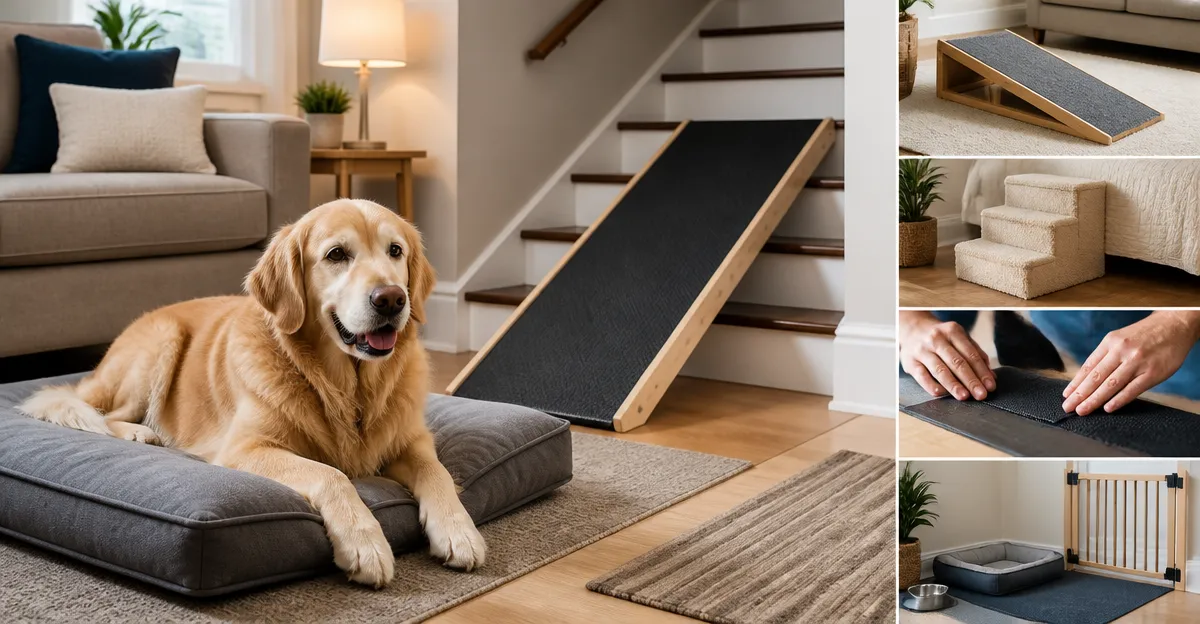
How to Make Emergency Home Modifications for Sudden Dog Mobility Loss: Quick DIY Safety Solutions
Introduction
When a beloved dog experiences an unexpected loss of mobility, the household must adapt rapidly to preserve the animal's independence and prevent injury. This guide teaches the reader how to evaluate the environment, implement temporary aids, and maintain a safe space using readily available materials and a few purpose‑built products. By following the steps, one can create a supportive home within a single day, reduce stress for the pet, and avoid costly veterinary complications.
The reader will learn how to identify high‑risk areas, install temporary ramps or stairs, secure furniture edges, and provide a comfortable resting zone. Each recommendation is supported by real Amazon products that have been proven effective for similar situations.
What You Will Need
- Measuring tape and a level
- Non‑slip adhesive pads or rubber matting
- Heavy‑duty zip ties or Velcro straps
- Basic hand tools (screwdriver, wrench)
- Optional portable aids: EHEYCIGA 4-Step Pet Stairs, AIMSEAL 17in Foldable Dog Ramp, Gardner Pet 2-in-1 Convertible Stairs
- Cleaning supplies (mild detergent, cloths)
Step‑by‑Step Instructions
Step 1: Assess the Living Space and Identify Critical Zones
Begin by walking through each room while observing where the dog currently rests, eats, and sleeps. Measure the height of beds, sofas, and cabinets that the dog frequently accesses. Record each measurement in centimeters for easy reference. This assessment determines the required height for ramps or stairs and highlights areas where a slip risk is highest.
During the assessment, check the floor surface for smooth tiles or hardwood that can become dangerously slick. If the floor is polished, plan to place non‑slip pads underneath any temporary aid. This preparation reduces the chance of the ramp shifting under the dog's weight.
Step 2: Create Safe Landing Zones Around Entry Points
Place a thick rubber mat or a folded towel at the base of each ramp or stair to cushion the dog's paws and absorb impact. The mat should extend at least six inches beyond the foot of the aid to ensure a stable transition onto the floor.
If the dog uses a doorway frequently, install a short threshold ramp made from a sturdy piece of plywood covered with a non‑slip surface. Secure the ramp with zip ties to the door frame so that it does not move when the dog steps on it.
Step 3: Install Temporary Ramps or Stairs
Choose a product based on the height of the furniture and the size of the dog. For beds up to 23 inches high, the EHEYCIGA 4-Step Pet Stairs provide a compact, foldable solution. Its 30D high‑density foam offers steady support, while the removable washable cover simplifies cleaning. The stairs can be positioned against the side of a bed, creating a gentle incline that reduces strain on the dog's joints.
When the dog must reach a higher surface such as a tall couch or a vehicle seat, the AIMSEAL 17in Foldable Dog Ramp is advantageous. It supports up to 200 lb, features an extra‑wide 17.1‑inch deck, and includes a non‑slip rubber surface with protruding steps for enhanced traction. The ramp is adjustable to four heights (11.6, 14.6, 17.7, 22.5 in) and folds flat for storage, making it ideal for emergency situations where space is limited.
For versatility, the Gardner Pet 2-in-1 Convertible Stairs combine a stair configuration with a low‑angle ramp. The 35D high‑density foam cushion protects the dog's joints, and the anti‑slip rubber dots on the base prevent movement on smooth floors. This product is especially useful when the owner is uncertain whether a stair or a ramp will better suit the dog's current mobility level.
To install any of these aids, position the device directly against the furniture edge, ensuring the top platform aligns with the surface the dog intends to reach. Use a level to verify that the incline is not too steep; a 12‑degree angle is generally safe for most small to medium dogs. Secure the device with the supplied straps or with additional zip ties to prevent sliding.
Step 4: Secure Furniture Edges and Prevent Falls
Apply adhesive non‑slip pads to the corners of beds, sofas, and chairs where the dog might attempt to jump. These pads increase friction and discourage the dog from attempting risky leaps. For larger pieces of furniture, consider adding a short wooden rail that the dog can use as a handhold while stepping onto the aid.
If the dog is prone to falling from a high bed, place a low‑profile barrier—such as a rolled towel or a foam pillow—along the side of the bed. This barrier acts as a safety net without restricting the dog's ability to exit the bed when needed.
Step 5: Provide a Comfortable Resting Area Near the Aid
After the dog has climbed onto the furniture, it will likely need a place to rest. Position a soft pet bed or a folded blanket directly under the ramp or stairs. The EHEYCIGA 4-Step Pet Stairs can be folded into a basic dog bed, offering a dual‑purpose solution that saves space and provides a familiar surface for the pet.
Ensure the resting area is free of cords, small objects, or sharp edges that could cause injury. Keep the area well‑ventilated and away from direct sunlight to maintain a comfortable temperature.
Step 6: Maintain Hygiene and Monitor Progress
All recommended products feature removable, washable covers. The EHEYCIGA stairs and the Gardner Pet stairs can be laundered in a washing machine, while the AIMSEAL ramp only requires a quick wipe with a damp cloth. Regular cleaning prevents odors and reduces the risk of bacterial growth.
Observe the dog for signs of fatigue, discomfort, or hesitation when using the aid. Adjust the height or angle if the dog appears strained. In cases where the dog shows persistent difficulty, consult a veterinarian for a professional assessment.
Tips & Pro Tips
- Place a night‑light near the ramp or stairs to improve visibility during low‑light conditions.
- Use a portable fan to keep the area cool if the dog tends to overheat while climbing.
- Secure the device to the furniture with a short piece of rope or bungee cord for added stability.
- Rotate the ramp or stairs periodically to distribute wear evenly across the surface.
- Consider adding a small water bowl on the same level as the aid to encourage hydration without extra climbing.
Troubleshooting
Problem: The ramp slides on hardwood flooring.
Solution: Attach non‑slip rubber pads to the base of the ramp and press firmly until the adhesive bonds. If the problem persists, place a thin piece of plywood beneath the ramp to increase friction.
Problem: The dog refuses to use the stairs.
Solution: Use treats and a gentle voice to lure the dog onto the first step, then gradually encourage progress. Ensure the steps are not too high; a lower configuration may be more inviting.
Conclusion
By assessing the environment, installing appropriate ramps or stairs, securing furniture, and providing a comfortable resting zone, one can quickly adapt a home for a dog experiencing sudden mobility loss. The recommended products—EHEYCIGA 4-Step Pet Stairs, AIMSEAL 17in Foldable Dog Ramp, and Gardner Pet 2-in-1 Convertible Stairs—provide reliable, easy‑to‑install solutions that enhance safety and comfort. Implementing these steps promptly can reduce the risk of injury, support the dog's independence, and give the owner peace of mind during a challenging period.
Products Mentioned in This Guide
Frequently Asked Questions
What are the first steps to assess my home for a dog with sudden mobility loss?
Identify high‑risk zones like stairs, slippery floors, and furniture edges, then measure distances to plan ramps or barriers.
How can I create a temporary ramp using household items?
Secure a sturdy piece of plywood or a non‑slip carpet onto a gradual incline with zip ties or Velcro, ensuring it’s stable and level.
What non‑slip solutions work best for hardwood or tile floors?
Apply adhesive non‑slip pads or rubber matting to high‑traffic areas to give the dog traction and prevent falls.
Can I safely use zip ties or Velcro straps to secure furniture for a mobility‑impaired dog?
Yes, fasten furniture edges or gate panels with heavy‑duty zip ties or Velcro to block gaps and create a confined safe zone.
How long should emergency modifications stay in place before seeking professional help?
Keep them until a vet evaluates the dog’s condition, typically a few days to a week, to avoid long‑term hazards.