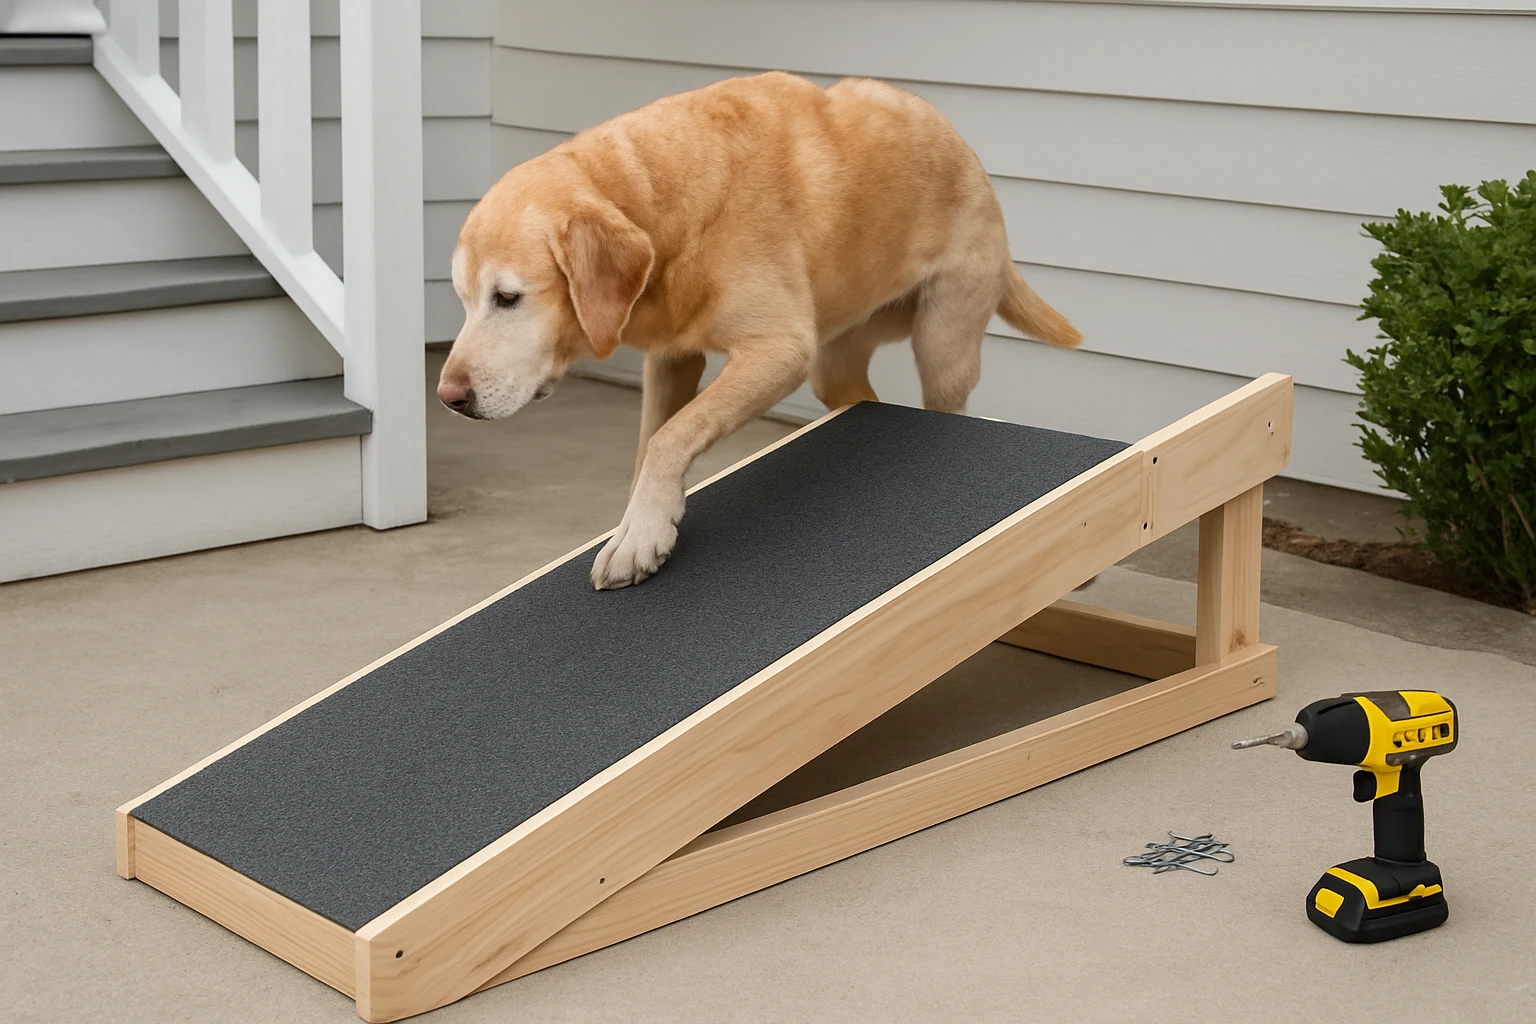
How to Make a DIY Ramp for Your Senior Dog: Step‑by‑Step Build, Safety Tips & Best Materials
Introduction
Older dogs often struggle to climb onto beds, couches, or cars, which can lead to joint pain or injuries. This guide will teach the reader how to construct a custom ramp that supports a senior dog safely and comfortably. The reader will learn which materials provide the best grip, how to measure and cut components, and which commercial products can simplify the build. By following the instructions, one can create a ramp that extends the dog’s mobility while protecting its joints.
What You’ll Need
- High‑density foam or plywood for the ramp surface (minimum 3/4" thickness)
- Non‑slip carpet or rubber matting
- Wood screws, metal brackets, and a drill
- Measuring tape, level, and saw
- Optional tools: MEJYJEM Dog Stairs for a stable base, SweetBin Adjustable Dog Ramp for height reference, Mesa Lemon Dog Stairs for a removable cover, and GAOYITK Folding Dog Ramp for sturdy metal support.
Step 1 – Measure the Height and Length
The first task is to determine the vertical distance from the floor to the target surface, such as a bed or car trunk. Use a measuring tape to record the height and then calculate a gentle incline of approximately 35 degrees, which reduces stress on the dog’s joints. For a 24‑inch rise, a ramp length of about 40‑45 inches will achieve the desired angle. Write these dimensions on paper; they will guide the cutting of the ramp surface and the placement of support brackets.
Step 2 – Build a Stable Base
A solid base prevents wobbling and distributes weight evenly. One effective solution is to repurpose the MEJYJEM Dog Stairs, which feature an upgraded height of 28.7 inches, a sturdy non‑slip corduroy cover, and a high‑density foam core. Priced at $59.99 with a 4.6‑star rating from 469 reviews, these stairs provide a level platform that can be placed directly beneath the ramp. The foam core absorbs impact, while the removable cover allows easy cleaning. Position the stairs where the ramp will begin and secure them with metal brackets to ensure they do not shift during use.
Step 3 – Cut and Prepare the Ramp Surface
Select a piece of plywood or high‑density foam that matches the calculated length and width (typically 12‑14 inches wide). The surface must be strong enough to hold the dog’s weight and flexible enough to accommodate a slight curve. If using plywood, sand the edges to avoid splinters. Next, attach a non‑slip carpet or rubber matting using a spray adhesive; this layer mimics the grip found on the SweetBin Adjustable Dog Ramp. The SweetBin ramp offers four adjustable heights (12", 15", 17.6", 20") and a striped, wear‑resistant carpet that provides excellent traction. Its price of $61.99 and 4.4‑star rating demonstrate reliable performance. By copying its carpet design, the DIY ramp will achieve a similar non‑slip surface.
Step 4 – Assemble the Ramp Frame
Construct a frame using 2x4 lumber or metal angle brackets to hold the ramp surface at the measured angle. Secure the frame to the base stairs with long wood screws, ensuring the angle remains constant along the entire length. For additional rigidity, incorporate the GAOYITK Folding Dog Ramp as a reinforcing side rail. This product features a 71‑inch extra‑long design, a 20‑inch wide iron‑aluminum construction, and a non‑slip PVC looped surface. Although intended as a standalone ramp, its sturdy metal side rails can be cut to length and bolted to the DIY frame, providing extra support for larger dogs. The GAOYITK ramp costs $113.99 and holds a 4.6‑star rating from 313 reviews, indicating high durability.
Step 5 – Add a Removable Cover
To protect the ramp from wear and to keep it clean, a removable cover is advisable. The Mesa Lemon Dog Stairs include a waterproof, machine‑washable corduroy cover that can be adapted for the DIY ramp. Priced at $38.24 with a 4.4‑star rating from 2,300 reviews, these stairs come in multiple colors and sizes, allowing one to select a cover that fits the ramp dimensions. Cut the cover to size, attach it with Velcro strips, and zip it over the ramp surface for easy removal and laundering.
Step 6 – Test Stability and Safety
Before allowing the senior dog to use the ramp, conduct a thorough stability test. Apply pressure at the top, middle, and bottom of the ramp while observing for any wobble or flex. Place a weight equivalent to the dog’s mass on the ramp to verify that the frame and base can support the load. Ensure the non‑slip surface remains firmly attached and that the removable cover does not shift during movement. Once the ramp passes these checks, invite the dog to explore the ramp using treats and gentle encouragement.
Tips & Pro Tips
- Use a gentle 35° incline; steeper angles increase joint strain.
- Apply a thin layer of silicone adhesive under the non‑slip carpet for added grip.
- Place anti‑slip rubber pads under the base stairs to prevent floor movement.
- Train the dog gradually: start with short sessions and reward progress.
- Inspect the ramp weekly for wear, especially on the carpet and metal brackets.
Troubleshooting
If the ramp feels unstable, reinforce the frame with additional metal brackets or crossbars. Should the non‑slip surface lose traction, replace the carpet with a fresh piece from the Mesa Lemon cover. In cases where the dog hesitates, lower the incline temporarily and use treats to encourage forward movement. Persistent refusal may indicate underlying health issues; consult a veterinarian.
Conclusion
Constructing a DIY ramp for a senior dog combines careful measurement, sturdy materials, and thoughtful safety features. By following the step‑by‑step instructions, one can create a ramp that matches the dog’s height needs, provides reliable traction, and remains easy to clean. The recommended products—MEJYJEM Dog Stairs, SweetBin Adjustable Dog Ramp, Mesa Lemon Dog Stairs, and GAOYITK Folding Dog Ramp—serve as valuable tools that simplify the build while ensuring durability. With this ramp in place, the senior dog will regain confidence and independence when accessing beds, couches, or vehicles.
Products Mentioned in This Guide
Frequently Asked Questions
What is the ideal material for the surface of a DIY dog ramp?
Use a sturdy, non‑slip surface such as ¾‑inch plywood topped with carpet or rubber matting for grip and comfort.
How do I determine the correct ramp length for my senior dog?
Measure the height of the step or vehicle entry and divide by a safe slope ratio (typically 1:4), then add extra length for a gradual incline.
What safety features should I include on a homemade dog ramp?
Add non‑slip tread, secure brackets, and side rails or a low fence to prevent the dog from slipping or falling off.
Can I use the ramp outdoors and how should I protect it?
Yes; treat the wood with a weather‑proof sealant and use outdoor‑grade rubber matting to keep the surface dry and slip‑resistant.
How often should I inspect and maintain my DIY dog ramp?
Check the ramp weekly for loose screws, wear on the tread, and any warping; tighten hardware and replace worn surfaces as needed.