Introduction
This guide explains how one can select the most appropriate ramp incline for a dog that suffers from front‑limb weakness. It outlines the scientific basis for safe angles, describes the tools required, and presents a step‑by‑step process that leads to a confident, injury‑free experience. Readers will also discover practical safety tips and learn when an inflatable water ramp or a wooden stair ramp is the most suitable solution. By following these instructions, one can improve mobility, reduce joint strain, and enhance the overall quality of life for the canine companion.
What You’ll Need
- Measuring tape or laser distance meter
- Carpenter’s level or digital inclinometer
- Non‑slip surface material (optional)
- Secure anchoring straps or D‑rings
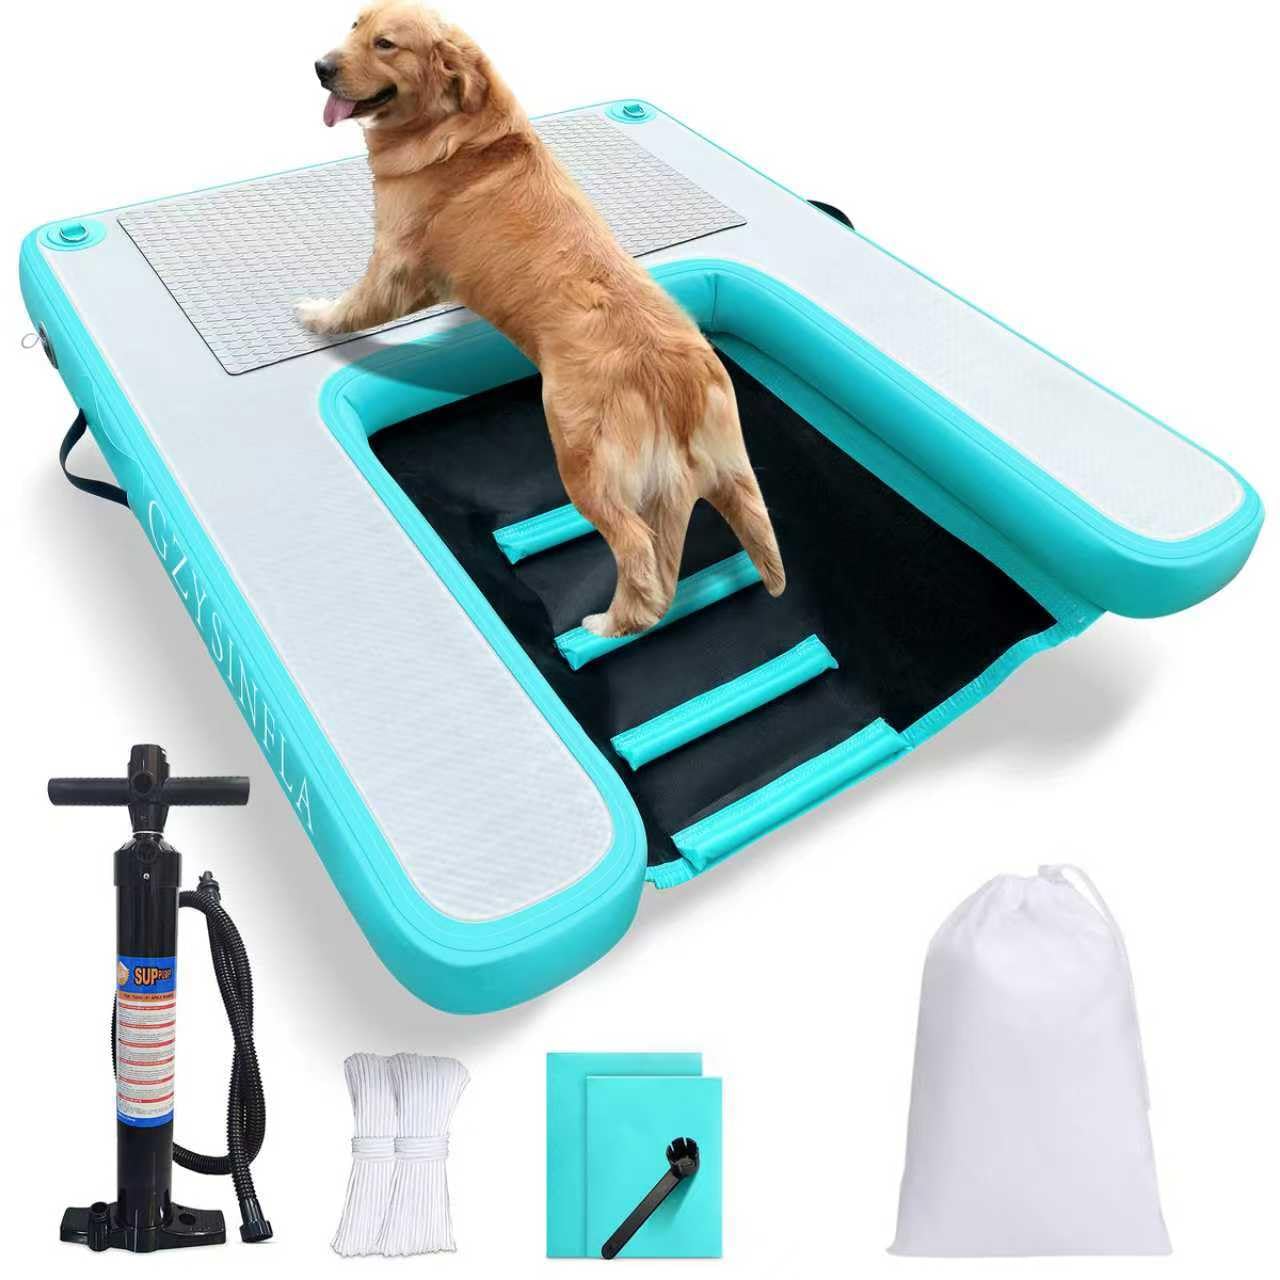
- GZYSINFLA Dog Water Ramp Float (for aquatic environments)
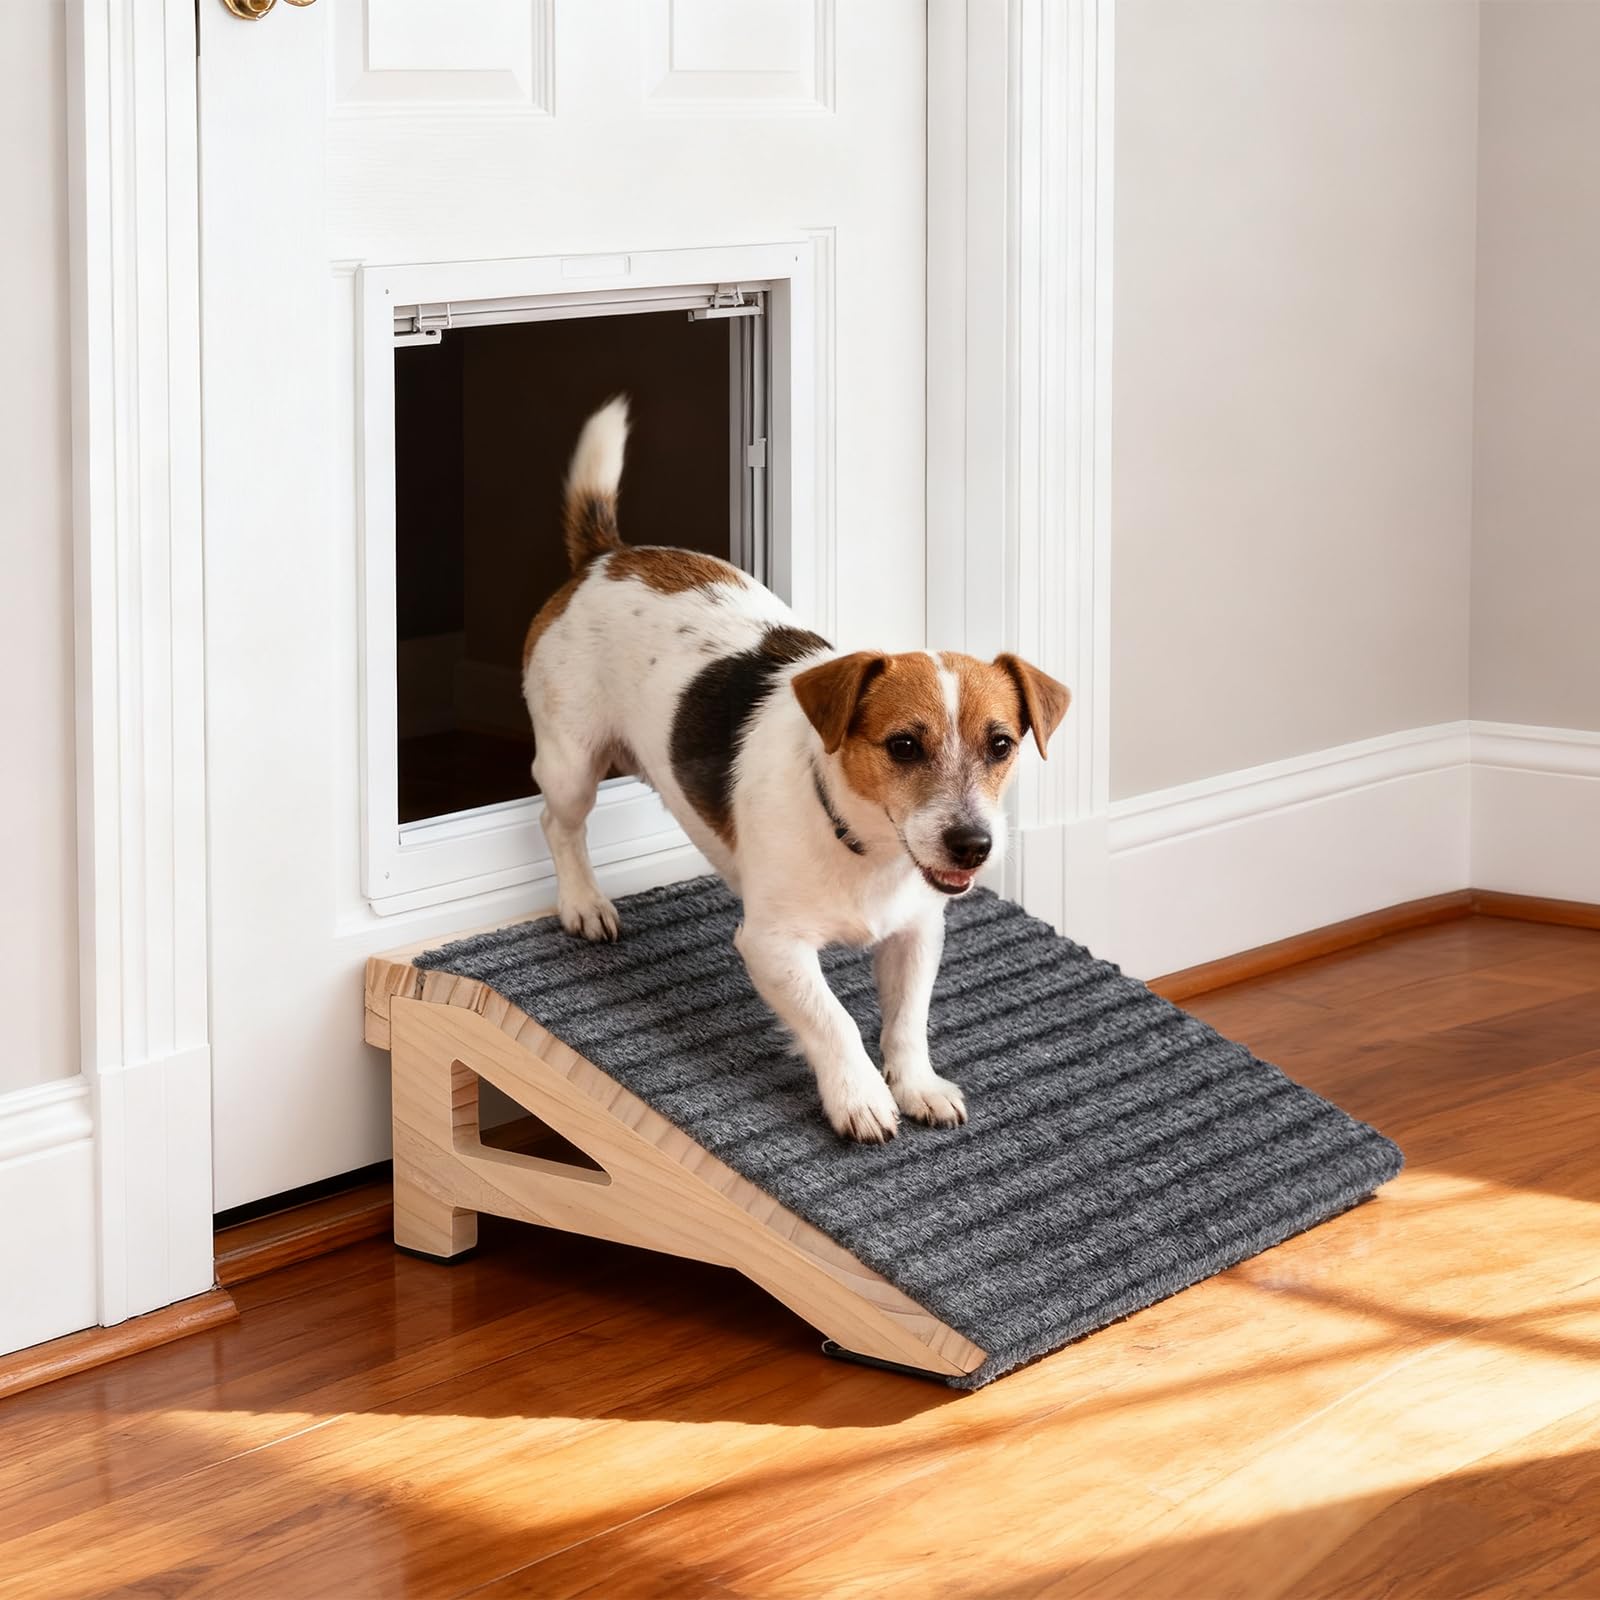
- KISIMUY Wooden Dog Stairs Ramp (for indoor or low‑step applications)
Step 1: Assess the Dog’s Mobility Limitations
The first step is to observe the animal’s gait, noting any hesitation when climbing stairs or stepping onto furniture. Front‑limb weakness often manifests as reduced weight‑bearing, a slower pace, or a visible limp after prolonged activity. A veterinarian’s assessment can provide a precise range of motion measurement, which will inform the maximum safe incline. Documenting these observations creates a baseline for later comparison after the ramp is installed.
Step 2: Measure the Height Difference
Determine the vertical distance between the ground and the surface the dog needs to access, such as a dock, boat entry, or a sofa. Use a measuring tape to record the height in inches or centimeters; accuracy is essential because the calculated angle directly depends on this measurement. For example, a dock that is 24 inches above water level requires a longer ramp than a low sofa that is only 12 inches high. Record the measurement in a notebook for reference during the angle calculation.
Step 3: Calculate the Ideal Incline Angle
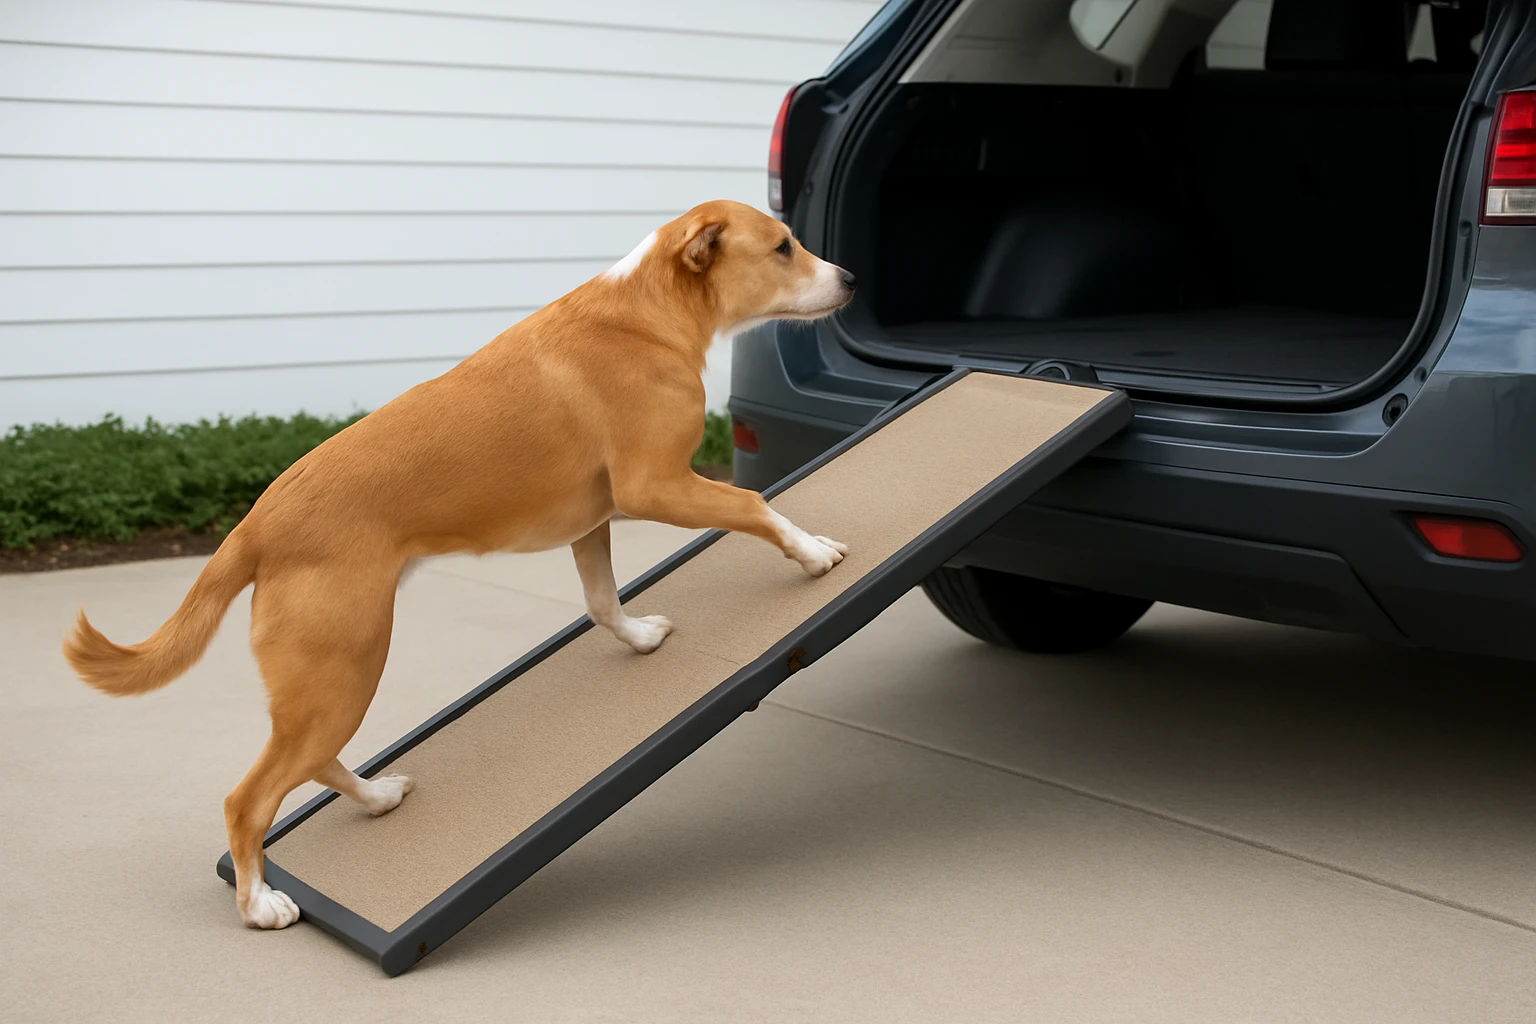
The recommended incline for dogs with front‑limb weakness is generally between 10° and 15°. Angles steeper than 20° increase joint stress and may exacerbate weakness. To calculate the angle, use the formula: angle = arctan(vertical height / ramp length). An online inclinometer or a smartphone app can simplify this computation. Aim for the lowest angle that still provides a practical ramp length; a longer ramp yields a gentler slope, which is safer for compromised limbs.
Step 4: Choose the Appropriate Ramp Type
If the dog requires access to water, a floating solution is essential. The GZYSINFLA Dog Water Ramp Float offers a large 40Â48Â4‑inch surface that can support animals up to 200 pounds, making it suitable for medium to large breeds. Its commercial‑grade PVC construction provides durability and a non‑slip texture, while the side valve allows rapid inflation and deflation. The included metal D‑rings enable secure anchoring to docks or boat decks, preventing drift during use.
For indoor applications, the KISIMUY Wooden Dog Stairs Ramp delivers a solid, anti‑slip surface that is ideal for low‑profile steps. The 13.7Â10.2Â4.1‑inch dimensions create a gentle 25° incline, which aligns closely with the recommended range for weak front limbs. The furniture‑grade solid wood ensures stability, and the textured carpet surface reduces pressure on the paws and joints. This ramp can also double as a calf stretcher or footstool, adding value beyond the primary purpose.
Step 5: Prepare the Installation Site
Clear the area of debris, loose stones, or wet leaves that could cause slipping. For a dock, verify that the surface is clean and free of algae; for indoor stairs, ensure the landing is level and free of rugs that may interfere with the ramp’s base. If the surface is particularly slick, apply a non‑slip mat or attach the anti‑slip stickers supplied with the wooden ramp. Proper site preparation reduces the risk of accidental slides during the dog’s ascent.
Step 6: Assemble and Secure the Ramp
Inflate the GZYSINFLA ramp using the side valve until the surface feels firm but not overly rigid; the built‑in sealing system prevents air loss during use. Attach the six metal D‑rings to sturdy anchor points on the dock or boat, using the provided 8‑foot tie‑down ropes for extra stability. For the KISIMUY wooden ramp, place the unit on the step, align the anti‑slip stickers, and optionally secure the base with the supplied self‑adhesive fixing pads. Ensure that the ramp does not wobble when pressure is applied.
Step 7: Test the Ramp with the Dog
Invite the dog to approach the ramp at a calm pace, using treats or a favorite toy as motivation. Observe the dog’s posture; a confident climb should involve even weight distribution across all four limbs. If the dog hesitates, lower the incline by extending the ramp length or adding a short intermediary platform. Record any signs of discomfort, such as whining or limping, and adjust the angle accordingly before regular use.
Step 8: Maintain and Store the Ramp
After each use, wipe the surface of the inflatable ramp with fresh water and mild soap to remove salt or chlorine residues that could degrade the PVC. Allow the ramp to dry completely before deflation and storage in a cool, dry place. The wooden ramp should be inspected for loose screws or worn carpet; replace the anti‑slip stickers if they become smooth. Regular maintenance extends the lifespan of both products and preserves safety for future sessions.
Tips & Pro Tips
- Always measure both height and available floor space before purchasing a ramp; a ramp that is too long may not fit in narrow hallways.
- When using the inflatable ramp on a boat, secure it to at least two points to counteract wave motion.
- Consider adding a short transition platform between the ramp and the landing to reduce the impact of a sudden angle change.
- For senior dogs, apply a lightweight fleece blanket on the wooden ramp to provide additional cushioning.
- Monitor the dog’s weight regularly; a 200‑pound capacity ramp may become unsafe if the animal gains significant mass.
Troubleshooting
- Ramp feels slippery: Re‑apply the anti‑slip stickers or use a non‑slip mat underneath the ramp.
- Dog refuses to use the ramp: Reduce the angle temporarily, use high‑value treats, and practice short, positive sessions.
- Air leaks in inflatable ramp: Locate the leak with a soap‑water solution, then apply the included repair kit to seal the puncture.
- Wooden ramp creaks: Tighten any loose screws and verify that the ramp sits on a level surface.
Conclusion
Choosing the correct ramp incline for a dog with front‑limb weakness requires careful measurement, angle calculation, and selection of a suitable ramp type. By following the eight steps outlined above, one can create a safe, supportive pathway that minimizes joint strain and encourages independent mobility. The recommended GZYSINFLA Dog Water Ramp Float and KISIMUY Wooden Dog Stairs Ramp exemplify high‑quality solutions that meet the specific needs of aquatic and indoor environments. Implementing these practices will enhance the dog’s confidence, protect its joints, and promote a healthier, more active lifestyle.
Products Mentioned in This Guide
Frequently Asked Questions
What is the ideal ramp angle for a dog with front‑limb weakness?
A gentle incline of 10°–15° is recommended to minimize joint strain while still providing enough slope for the dog to ascend safely.
How can I accurately measure the ramp’s angle?
Use a carpenter’s level, digital inclinometer, or a smartphone angle app placed on the ramp surface to verify the slope falls within the ideal range.
When should I choose an inflatable water ramp versus a wooden stair ramp?
Use an inflatable water ramp for pools or beach access, and a wooden stair ramp for indoor use or low‑step entryways where a firm, non‑slip surface is needed.
What safety accessories are essential for a dog ramp?
Secure anchoring straps or D‑rings, non‑slip surface material, and side rails or barriers help keep the dog stable and prevent the ramp from shifting.
Can I customize the ramp height for my dog’s size?
Yes, measure the vertical rise and adjust the ramp length to maintain the 10°–15° angle, ensuring the slope is comfortable for your dog’s specific height and mobility level.